Showing posts with label Thanks Giving. Show all posts

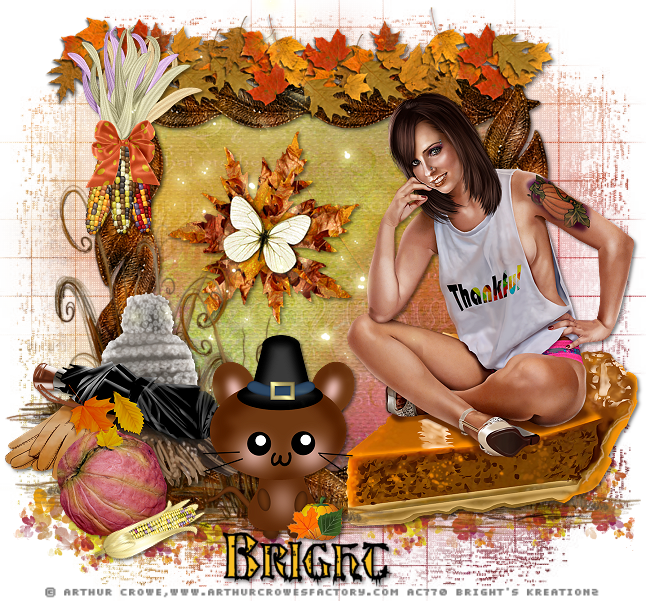
Thanks Giving 2014


Tube of choice i used Arthur Crowe.
Pilgrim Ink Babe Tube and Kit.HERE.
BBD_MASK_167.Thanks Babs for sharing.HERE.
Font of choice i used Pilgrim Hats
Drop shaddow throughout.2.2.50.5.
File new 700x700 crop  and resize later,fill with white.
Resize paper10.by75.Paste as new layer,Mask,new from image.
Select and apply mask,merge mask visable.
Resize frame2.by75.Paste as new layer on top center of mask.Sharpen,drop shaddow.
Magic wand click inside of frame,modify exspand by5.
Resize paper4.by.75 twice.Invert hit delete,drag below frame.
Resize tube by 75 twice.Sharpen,drop shaddow.
Place inside bottom left of frame.
Resize element19 by45.Paste as new layer bottom right of frame,sharpen,drop shaddow.
Resize element13.by35.Paste as new layer right of frame,
behind 19.erase overlapping of spoon.Sharpen then drop shaddow.
Resize20.by30.Paste as new layer on top bottom right of 19.Sharpen then drop shaddow.
Resize element6.by30.Image mirror,paste as new layer.
Place left of 19,sharpen then drop shaddow.
Resize element7.b745.Paste as new layer bottom left of frame.Sharpen drop shaddow.
Resize element18.by45.Paste as new layer bottom left of frame.
Drag below 7.Sharpen then drop shaddow.
Resize element21.by45.Paste as new layer to and below 7.Sharpen drop shaddow.
Resize element4.by30.Paste as new layer on top bottom 21,Sharpen,drop shaddow. 
Resize element5.by30.Paste as new layer top left of frame.Sharpen,drop shaddow.
Resize element3.by30.Paste as new layer,top right of frame.
Sharpen,drop shaddow,duplicate twice,arrange around original flower.
Resize all layers 650x650 pixels.
Add url copy right and licence number.
Add name,i added the first letter first on caps,
then the rest of my name on lower keys.Drop shaddow.
Delete white background,save as PNG.
Hope you enjoyed doing my tut,thanks for trying it.

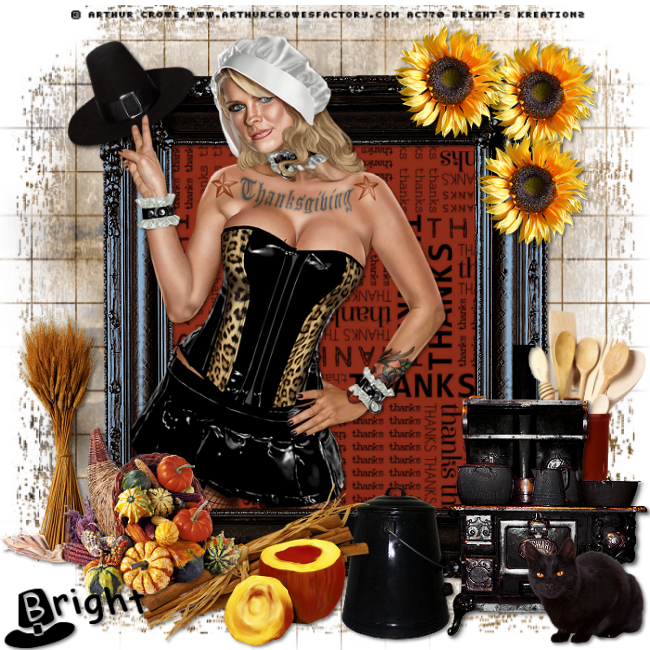
Harvest Thanks Giving


Tube of choice i used Arthur Crowe.
Thankful Babe Tube and Kit.
You need a licence to use this art,you can purchase one HERE.
Penta.com Dot and Cross plugin.
BBD_Mask_167.Thanks babs for sharing.HERE.
Font of choice i used EasyLombardic Two
Drop shaddow throughout.2.2.50.5.
File 650x650,fill with white.
Copy and paste paper1.as new layer,mask new from image.
Select and apply mask,merge mask visable.Add Penta.com.Dot and cross default settings.
Resize6 by 85.Sharpen,Paste as new layer on top center of mask.Magic wand.
Click insiode frame,modify exspand by10.Resie paper8 by60.unsharpen,
paste as new layer,invert,hit delete.Drag below frame.
Resize full tube by50,unsharpen.Paste as new layer,bottom right of frame.
Drop shaddow both frame and tube.
Resize1 by75,paste aS new layer,inside top left of frame,sharpen then drop shaddow.
Resize3 by45.Paste as new layer,bottom left of frame,sharpen,drop shaddow.
Resize30 by35.Image mirror.Paste as new layer on top right of 45.Sharpen drop shaddow.
Resize 7 by35.Paste as new layer top left of frame,sharpen,drop shaddow.
Resize11 by45.Paste as new layers,arrange on top of frame,
bottom left corner.Duplicate again move on top of mask,bottom right.
Resize 8 by20.Paste as new layer bottom left of tag,sharpen,drop shaddow.
Resize4 by20.Paste as new layer bottom right of8.Sharpen,drop shaddow.
Resize18 by30.Paste as new layers,arrange a few duplicated on top bottom of mask.
Resize21 by30.Paste as new layer on top inside of frame,erase any overlapping.
Resize28 by85.Paste as new layer on top center of frame,
drag below tube.Sharpen then drop shaddow.
Add url copyright and licence number.
Add name bottom center of tag.Drop shaddow.
Hope you enjoyed doing my tut,thanks for trying it.

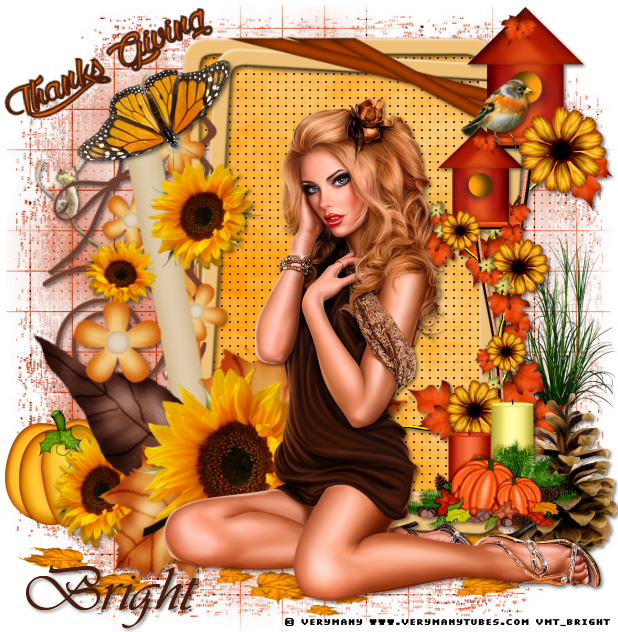
Be Thankful


Tube of choice i used Verymany.
You need a licence to use this art,you can purchase one HERE.
PTU Sunflowers kit HERE.
BBD_167 mask.Thanks for sharing.HERE.
Font of choice i used Vivaldi.
Drop shaddow throughout.2.2.50.5.
File new 650x650,fill with white.
Copy and paste paper4 as new layer.Mask,new from image.
Select and apply mask.Merge mask visable.
Resize28 by90,paste as new layer on top center of mask.
Magic wand click in center of frame,modify,exspand by10.
Copy and paste paper6.as new layer,invert,hit delete.
Drag below frame.Select none,Drop shaddow frame.
Add PSP weave effect colour black.
Resize tube by45,paste as new layer,image mirror.
Place on top bottom center of frame.Sharpen,unsharpen then drop shaddow.
Resize8 by45,paste as new layer top left of frame,drop shaddow.
Resize41 by45.paste,as new layer,place bottom right of frame.Drop shaddow.
Copy and paste 37 as new layer down right of frame,drop shaddow.
Resize51 by30.Paste as new layer on top left of37.drop shaddow.
Resize40 by35,paste as new layer.Image mirror,place bottom left of frame,
Drag below frame,Dropshaddow.
Add thanks wordart top left corner of mask.Rotate left slightly.
Resize50 by45,paste as new layer,bottom right below tube and candle.Drop shaddow.
Copy and paste55,as new layer on top bottom center of mask.
Resize59 by45,paste as new layer on top center right of mask.
Add url copyright and licence number.
Add name bottom left of tag,drop shaddow.
Delete white background,save as PNG.
Hope you enjoyed doing my tut,thanks for trying it. 

Snow Queen


Tube of choice i used Alehandra_Vanek.
You need a licence to use this art,you can purchase one HERE.
FTU kit by StudioFlegs 'Frozen'Thanks for sharing.HERE.
Winni_Mask_6.Thanks for sharing.HERE.
Vanderlee free plugin.HERE.
Font of choice i used Christmas On Crack.
Drop shaddow throughout,2.2.50.5.
File new 650x700,fill with white.New layer,copy and paste paper1 as new layer .
Resize by45.Mask new from image,select and apply mask,merge mask visable.
Use deformation tool to stretch all sides.
Resize frame by35.Paste as new layer,on top center of mask.
Magic wand,click inside frame,modify exspand by5.
Resize paper5 by35.Paste as new layer,invert hit delete.
Drag below frame,Drop shaddow frame.
Resize Bow by15,paste as new layer,bottom center of frame.Sharpen,drop shaddow.
Resize Fancy flake by15.Paste as new layer on top of frame flake,
Sharpen then drop shaddow.Duplicate4 times,arrange around frame.
Resize snowflake by15,Paste as new layer top right,between snowflakes.
Sharpen then drop shaddow.Duplicate5times,arrange around frame.
Resize foliage1.by25.Paste as new layer bottom left of frame.Drop shaddow.
Resize Flower1 by25.Paste as new layer,on top bottom center of foliage.
Sharpen then drop shaddow.Duplicate 3times,arrange around original flower.
Resize pin by25,paste as new layer top left of frame,sharpen,drop shaddow.
Drag below all flower layers,erase small part of pin.
If using the same tube as me.Copy and paste the pillows as new image.
change the colour manual balance to Source.White. Target #5b87c1.
Merge visable your tube,paste as new image,copy and place blue pillows,
on top of original pillows as new layer.Delete original pillow layer.
Merge tube and pillows layer visable.Drop shaddow.
Resize by35 the 90.Image mirror,paste as new layer bottom right of frame.
Highlight frame fill paper.select all float,defloat.
Effects.Plugins.Vanderlee. Snowflakes.
Amount 100.Min Size 0. Max Size 10.Hardness 100.
Transparency 0. Snow Color Basic Snow. Random Seed 0.
Hope you enjoyed doing my tut,thanks for trying it.Add url copyright and licence number.
Add name,Christmas On Crack font on72.Width2.Drop shaddow.
Delete white background,save as PNG.