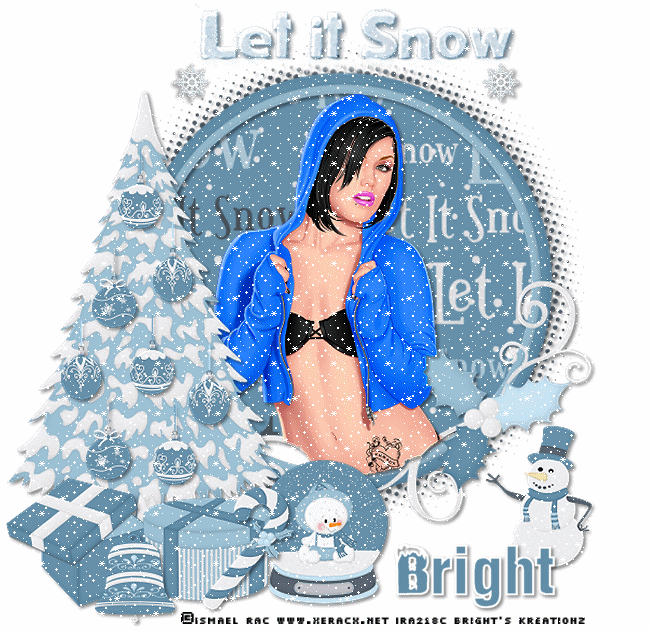
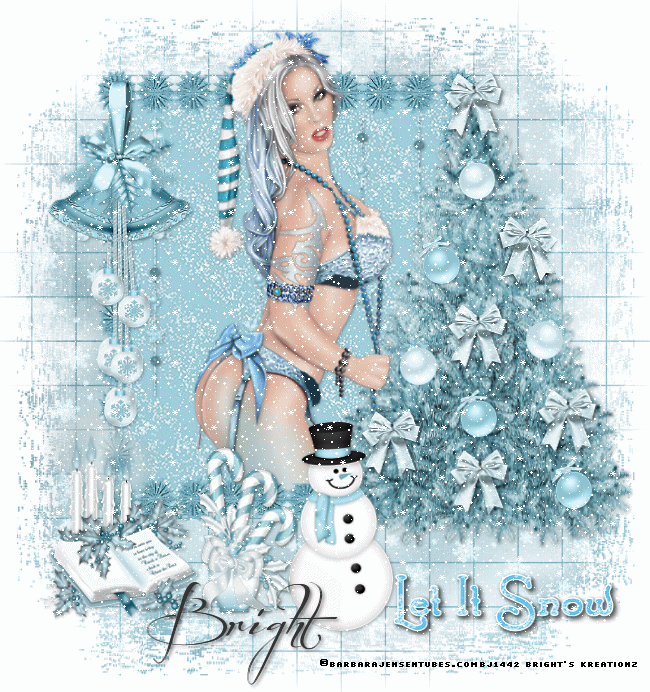
Tube of choice i used Verymany.
You need a licence to use this art, you can purchase one HERE.
PTU. Mary's Winter kit by PinkParadox. HERE.
BBD_Mask_167. Thanks babs for sharing. HERE.
Rain animation, thanks for sharing. HERE.
Font of choice i used Vivaldi.
Drop shaddow throughout. 2.2.50.5.Black.
File new 650 x 650. Fill with white.
Resize Paper40. by75. Paste as new layer. Mask new from image,
select and apply mask. merge mask visable.
Resize Frame11. by60. Paste as new layer on top center of mask.
Magic wand, click in side od frame modify exspand by5.
Resize paper32. by45. Paste as new layer, invert hit delete, drag below frame. Select none.
Resize125. by60. Paste as new layer on top right of mask. Drop shaddow.
Duplicate, image mirror. Duplicate both these layers.
Resize113. by45. Paste as new layer on top right of frame, drop shaddow.
Duplicate, image mirror, duplicate image flip, duplicate image mirror.
Resize tube, paste as new layer on top bottom center of frame,
drag below the bottom2 Leaf sprays. Sharpen, then drop shaddow.
Resize129. by45. Paste as new layer on top bottom left of tag. drop shaddow.
Resize114. by25. rotate slightly to right, image flip. drop shaddow,Place on top center bottom of tube.
Add url copyright and licence number.
Add name bottom right of tag, drop shaddow.
Edit copy merged, paste in animation shop as new animation. Duplicate 2times.
Animation ...
Open rain animation, Edit select all, edit copy.
Highlight 1st. frame of your tag, edit select all, edit paste in selected frame.
Vie animation, save as.
Hope you enjoy doing my tut, thanks for trying it.