Showing posts with label BCA. Show all posts

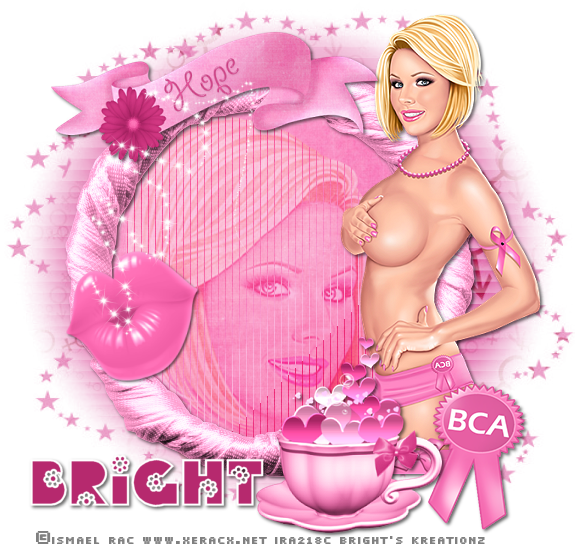
Hope


Tube of choice i used Arthur Crowe.
Pink Goddess Tube and Kit. HERE.
Montiblindsmask. Thanks Monti for sharing. HERE.
Tramages Tow The Line plugin.
Font of choice i used Vivaldi.
Drop shaddow. 2.2.50.5.
File new 650 x 650. Fill with white.
Resize paper11. by85. Paste as new layer. Mask new from image, select and apply mask,
merge mask visable, duplicate 3times. Resize by 110. 
Add psp weave effect. #9234392 ,2.7.5.Fill gaps ticked.
Copy and paste8. as new layer on top center of mask. Magice wand,
click in center of frame, modify exspand by5.
Copy paper3. as new layer, invert hit delete. Drag below frame.
Resize tube of choice by45. Paste as new layer center of frame, select none.
Copy and paste tube again on top of original, erase overlapping of tube on frame.
Drop shaddow frame.
Resize30 by45. Paste as new layer, bottom right og tag, drop shaddow.
Resize 11 by40.Paste as new layer, on top bottom left of frame, magic wand
click in left heart, modify exspand by5. New layer  Fill with #FBCDD0. Drag below frame.
Copy and paste the face of your tube as new layer. Invert hit delete,
Select none, Image mirror your tube.Resize by120.
Repeat as above on the right heart, drop shaddow frame. Add tramages tow the line to both backgrounds.
Resize 29. by45. Paste as new layer top left of frame, drop shaddow.
Resize 1 by35. Paste as new layer top right of frame, drop shaddow,
duplicate,resize by75. Move beneath original.
Add url copyright and licence number.
Add name bottom center of frame, drop shaddow.
Delete white background, save as PNG.
Hope you enjoyed doing my tut, thanks for trying it.

Don't give up


Tube of choice i used Ismael Rac.
You need a licence to use this art,you can purchase one HERE.
FTU BCA kit.Thanks for sharing.HERE.
AquaRebel315_mask_002.Thanks for sharing.HERE.
Eye Candy gradient glow.
Font of choice i used Fiolex Girls.
Drop shaddow throughout.2.2.50.5.
File new 700x700,Crop and resize later,fill with white.
Copy and paste23 as new layer,mask new from image.
Select and apply mask,merge mask visable.
Copy and paste121 as new layer,on top center of mask.
Magic wand,click in all blank spaces inside frame.Modify exspand by5.
Resize 17 by45,paste as new layer,invert,hit delete,
drag below frame,drop shaddow frame.Add psp weave effect,white.
Resize tube by45,paste as new layer bottom center of frame,
Sharpen,unsharpen,drop shaddow.
Resize9 by45,paste as new layer bottom left of frame,Sharpen,drop shaddow.
Resize6 by40.Paste as new layer on top bottom left of9,sharpen,drop shaddow.
Resize11 by25.Paste as new layer on top left of basket handle,
rotate slightly left.Sharpen,drop shaddow.
Resize18 by45.Paste as new layer bottom right of tube,drop shaddow.
Resize15,by45.Paste as new layer on top bottom left of18.Drop shaddow.
Resize25 by45,paste as new layer on top bottom right of mask,duplicate,image mirror.
Resize118 by35.paste as new layer top right of frame,rotate slightly.
Sharpen then drop shaddow.
Resize59 by35,paste as new layer on top left of top rose,image mirror,drop shaddow.
Crop if needed,then resize 650 pixel width,all layers ticked.
Add url copyright and licence number.
Add name top roght of mask,add EC gradient glow,thin white on3.
delete white background,save as PNG.
Hope you enjoyed doing my tut,thanks for trying it.

BCA


Tube of choice i used Arthur Crowe.
BCA ART tube and kit.
You need a licence to use this art,you can purchase one HERE.
WSL mask4.Thanks for sharing.HERE.
Eye Candy Gradient glow plugin.
Font of choice i used Admiration Pains.
Drop shaddow throughout.2.2.50.5.
File 650x650,fill with white.
Copy and paste paper2,mask new from image,select and apply mask,
merge mask visable,add psp noise uniform on 100.
Resize element29 by70.Paste as new layer on top center of mask.
Magic wand,click in center of frame,modify exspand by5.
Copy and paste paper8 as new layer,invert hit delete,drag below frame,
Copy and paste element9 as new layer,Hit delete.Drop shaddow frame.
Resize tube by60.Paste as new layer,on top bottom left of frame.
Duplicate,add gussian blur on3.Change bled mode to soft light,
drop shaddow on original layer.
Resize element15,by30.Paste as new layer bottom center of template,drop shaddow.
Resize element13 by45.Paste as new layer bottom right of frame,drop shaddow.
Resize element4 by45.Paste as new layer top right of frame,drop shaddow.
Erase small section on the pin.
Add BCA wordarts on top inside frame.Add EC gradient glow thin white.See mine for details.
Add url copyright and licence number.
Add name bottom left of tube,add EC gradient glow.
Delete white background,Save as PNG.
Hope you enjoyed doing my tut,thanks for trying it.

Prevention


Tube of choice i used Arthur Crowe.
Prevention tube and kit.
You need a licence to use this art,you can purchase one HERE.
Plugins.
dsb flux bright noise.
Eye candy gradient glow.
Font of choice i used Satisfaction.
Drop shaddow throughout.2.2.50.5.
Banner...
File new 650x250.Fill with background from tube.move to far right.
Resize tube by30,paste as new layer far right of template,sharpen,drop shaddow.
Resize wordart by75.Paste as new layer to far left of template.Drop shaddow.
New layer at top of all layers,Fill with FC8493.Select all,float,
modify contrast by4.Hit delete,Select none,add noise mix on 100.
Add eye candy gradient glow thin white.
Add url copyright and licence number.
Add name bottom left of tube.drop shaddow.
Crop apaque.Save as PNG.

Aviator...
File 150x150.
Copy and paste background from banner paste as new layer,
move over to see two colours.
Copy and paste tube from banner to right of aviator.resize by75.
Use freehand tool point to point,draw aruond ribbon on the wordart
on banner,copy and paste to top bottom left of aviator,resize by45.
Add copyright and licence number.
Add 1st.letter of name to top left,drop shaddow.
Add border same as on banner.
Crop apaque,Save as PNG.
Hope you enjoyed doing my tut,thanks for trying it.

Fighter


Tube of choice i used Arthur Crowe.
Fight BCA Tube and kit.HERE.
Montiblindsmask.Thanks Monti for sharing.HERE.
Plugins.
Tramages tow the line.
Eye Candy gradient glow.
Font of choice i used Riesling.
Drop shaddoq throughout.2.2.50.5.
File new 650x650.Fill with white.
Copy and paste paper8 as new layer,mask new from image,select and apply mask,merge mask visable.
Resize element18 by75.Paste as new layer on top center of mask.
Magic wand,click in center,Resize paper16 by50.Paste as new layer,
invert hit delete,drag below frame.Add Tramages tow the line.
Resize Tube by50.paste as new layer,hit delete.select none.
Paste tube again on top of original.Erase overlapping of tube at bottom of frame.
Sharpen,drop shaddow both tube and frame.
Resize element13 by30.Paste as new layerright center of frame,drop shaddow.
Resize element4 by20.Paste as new layer on top center of element13.
Sharpen then drop shaddow.Merge these 2 layer visable.Duplicate image mirror
Resize element8 by30.Paste as new layer on top bottom center of frame,Drp shaddow.
Resize element18 by30.Paste as new layer on top right center inside frame.
drop shaddow,duplicate,image mirror.
Add url copyright and licence number.
Add name bottom left of tag,add EC gradient glow.Colour black halo change to FA14C7.
Deleye white background,Save as PNG.
Hope you enjoyed doing my tut,thanks for trying it.

Hopeful


Tube of choice i used Arthur Crowe.
New bonus tube and kit.
You need a licence to use this art,you can purchase one.HERE.
Zuzzanna mask5.3rd group down page.Thanks for sharing.HERE.
Font of choice i used Vivaldi.
Drop shaddow throughout.2.2.50.5.
File new 650x650,fill with white.
Make a linear gradient from black and pink.New layer fill with gradient.
Mask new from image,select and apply mask,merge mask visable.
Copy and paste 22 as new layer,on top center of mask.
Magic wand,click in center of frame,modify exspand by5.
Resize paper3 by60.Paste as new layer,invert hit delete,
Drag below frame.Select none.Drop shaddow frame.
Add psp weave effect in black.
Resize tube by60,paste as new layer bottom right of frame,drop shaddoq.
Resize34 by60,paste as new layer top left of frame,sharpen,drop shaddow.
Resize28 by45.Paste as new layer,bottom left inside frame,sharpen,drop shaddow.
Resize 37 by30.Paste as new layer on top bottom right leg of tube,
image mirror,drop shaddow.
Use freehand tool point to point,draw around left hand of tube,copy and paste
on top of original,resize by60,align with original hand.
Resize4 by45.Paste as new layer bottom left of frame,sharpen,drop shaddow.
Resize23 by45.Paste as new layer on top bottom left of45.Drop shaddow.
Resize7 by30.Paste as new layer on top left of mask,drop shaddow,
duplicate image mirror.
Resize5 by15.Paste as new layer on top center left of frame.
Sharpen drop shaddow.duplicate image mirror,drag below tube.
Add url copyright and licence number.
Add name bottom center of tag.drop shaddow.
Delete white background,Save as PNG.

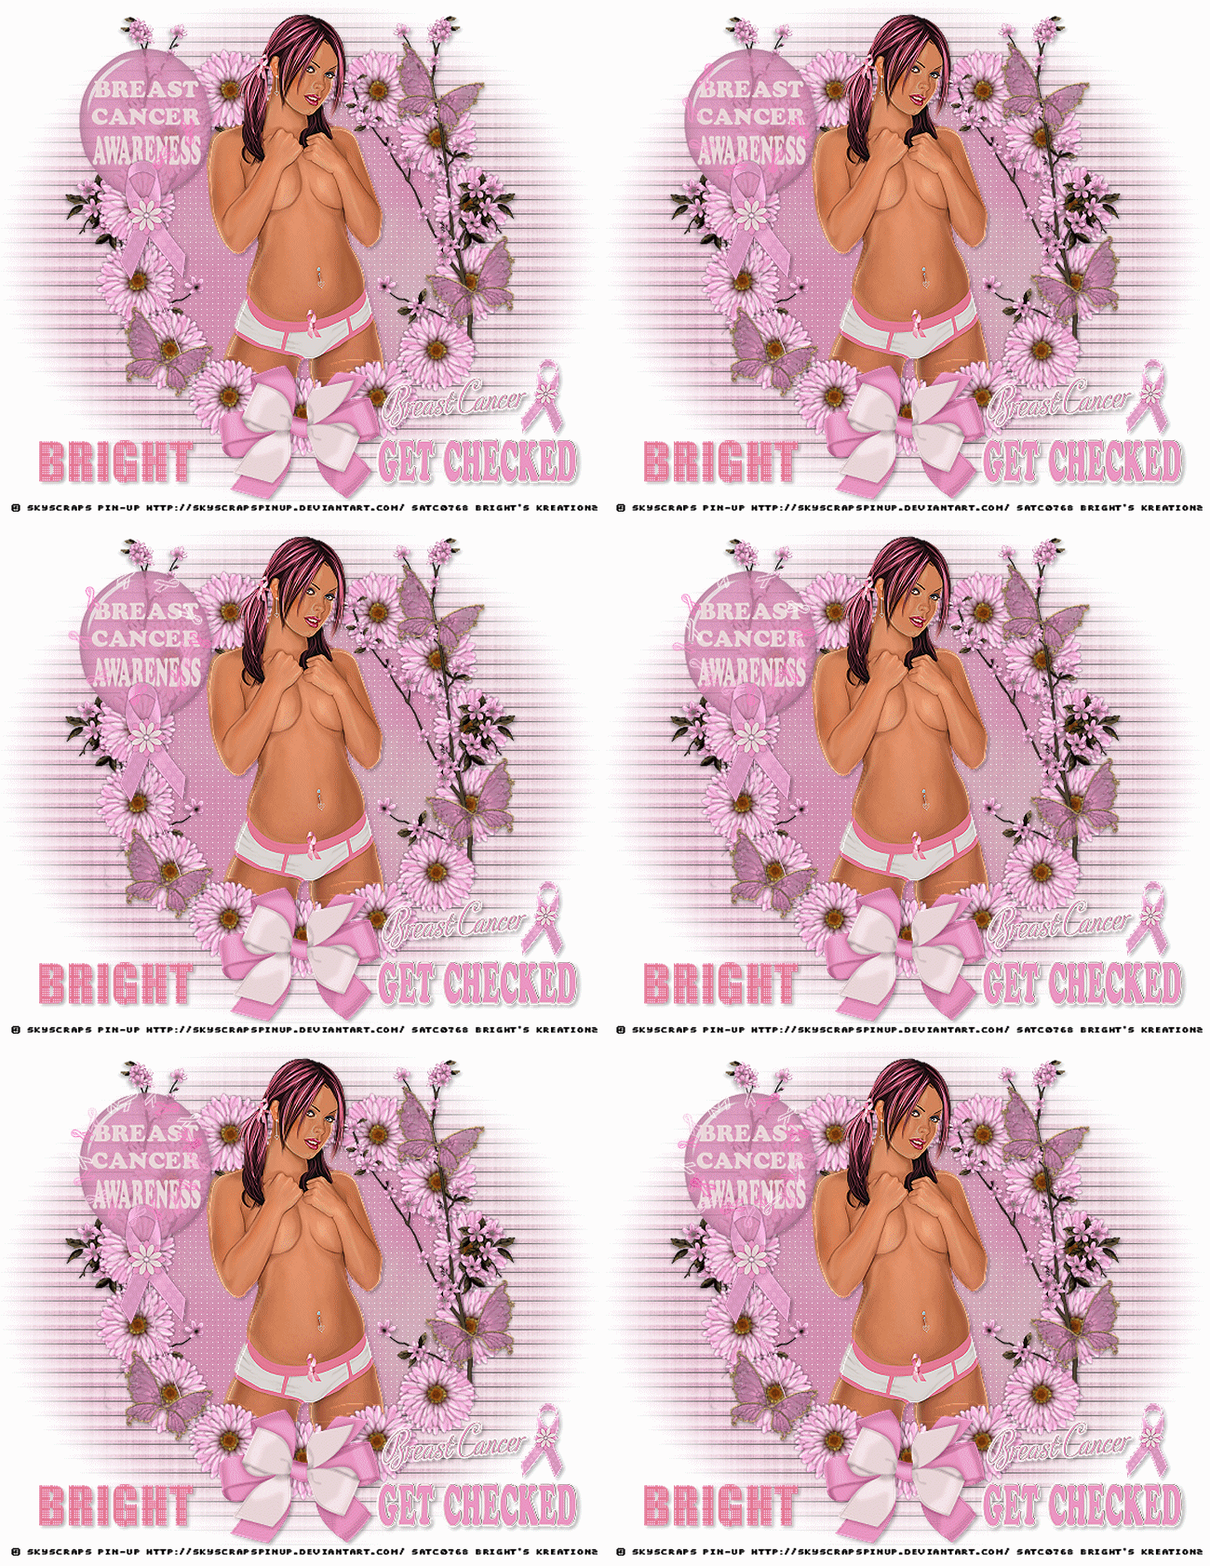
Get Checked

 
Tube of choice i used i used a free gift with purchase.
SkyScraps Pin-Up, Top right of page under free Gifts.
You need a licence to use this art,you can purchase one HERE
FTU Breast Cancer Awareness kit.Thanks doris for sharing.HERE.
Montiblindsmask,Thanks for sharing.HERE.
Simone BCA Animation 151-155.thanks for sharing.HERE.
Plugins.
Mura's Meister coppies,encircle.
Penta.com.Dot and cross.
Font of choice,i used Impact.
Drop shaddow throughout.2.2.30.5.
File new 650x650,fill with white.New layer.
Copy and paste as new layer paper4.Mask new from image.
Select and apply mask,merge mask visable.
Resize Daisy by 10.Effects Mura's Meister Coppies,Encircle,
Default,Change number to 14.
Magic wand click in center,modify exspand by7.
Resize paper3 by45.Paste as new layer,invert,delete 0n keyboard.
Drag below frame layer.Add psp weave effect in white.
Resize main tube by45,Paste as new layerbottom of frame,
delete on keyboard,Paste tube again,on top of original,
Erase overlapping of tube at bottom of frame,Sharpen,drop shaddow.
Resize Balloon2 by40,paste as new layer on top left of frame,
sharpen then drop shaddow.
Resize Bow2 by20,paste as new layer on top bottom center of frame,
sharpen then drop shaddow.
Resize Branch by45.Paste as new layer on top right side of frame.
Sharpen then drop shaddow,erase bottom part of stem.see mine for details.
Duplicate image mirror,drag below frame.
Resize Wordart1 by25.Paste as new layer.bottom right of frame,
Sharpen then drop shaddow.
Resize butterfly1 by15.Paste as new layer,bottom left of frame,
Sharpen then drop shaddow,rotate right slightly,duplicate
image mirror,place on top bottom of twig.Duplicate image mirror,
move to top of twig.
Add url copyright and licence number.
Add name to bottom left of frame,I used all caps for mine.
add Penta.com,dot and cross,drop shaddow.
Crop around tag.Image resize 650 pixel width,all layers ticked.
Edit copy merged,paste in animation shop as new animation.Duplicate 22 times.
Open Simone ani153.Edit select all,edit copy.
highlight 1st frame of tag,edit select all,edit paste in selected frame.
Place on top of BCA balloon,View animation,save as.

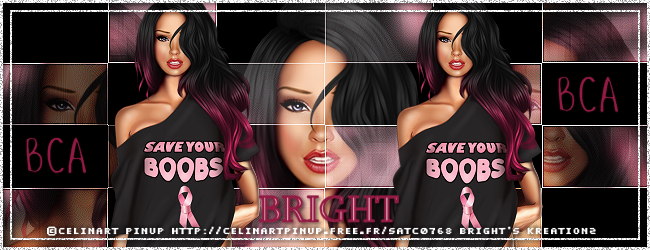
Save Your Boobs


Tube of choice i used i used a free gift with purchase.
Celinart.Top right of page under free Gifts.
You need a licence to use this art,you can purchase one HERE
Plugins.
Mura's Meister,copies.and Seamless Checks with gradation.
dsb Flux brightnoise.
Font of choice i used for my wordart Spring Script and Sylfaen for my name.
 
Banner...
File new 650x250.Fill with white.Copy and paste main tube as new layer.
Duplicate move to far left of template,duplicate,move to far right of template,
merge layersvisable.Add Mura's Miester copies.Wallpaper rotate.default.Add Gussian blur on10.
Add Mura's Miester seamless.Checks with gradation.default.
Effects Edge enhance twice.
Copy and paste full tube as new layer far left of template.
duplicate image mirror,move far right of template.
Duplicate again place center of template.All with just head and shoulders showing.
Change blend mode soft light to left and right tubes.
Change blend mode to screen on center tube.
Resize full tube by 45,paste as new layer left of center tube,
duplicate place right of center tube.drop shaddow both these tubes.2.2.50.5.Sharpen.
Create a new layer above all other layers, and Flood Fill with white.
Click Selections --> Select All.
Selections --> Modify --> Contract by 3, hit Delete.
Keep selected, and now contract by 7, then Flood Fill with white.
Now contract by 2, hit Delete, then Select None.
Apply a drop shadow to this layer.Add dsb noise on 100.
Add wordart BCA text size 36.911B42.on top far bottom left.drop shaddow 2.2.50.5.
Duplicate move far top right.See mine for details.
Add url copyright and licence number.
Add name bottom center of both full tubes,drop shaddow.Save as PNG.
 
Aviator...
File new 150x150.
Copy and paste all layers,one by one from the banner.Resize as you go by75.
Add frames as on the banner.Add dsb noise to frames as on banner.
Add copyright and licence number.Add 1st.letter of name,
on top right of template,drop shaddow as name on banner.I used text size28.
Save as PNG.
Hope you enjoyed doing my tut,thanks for trying it.


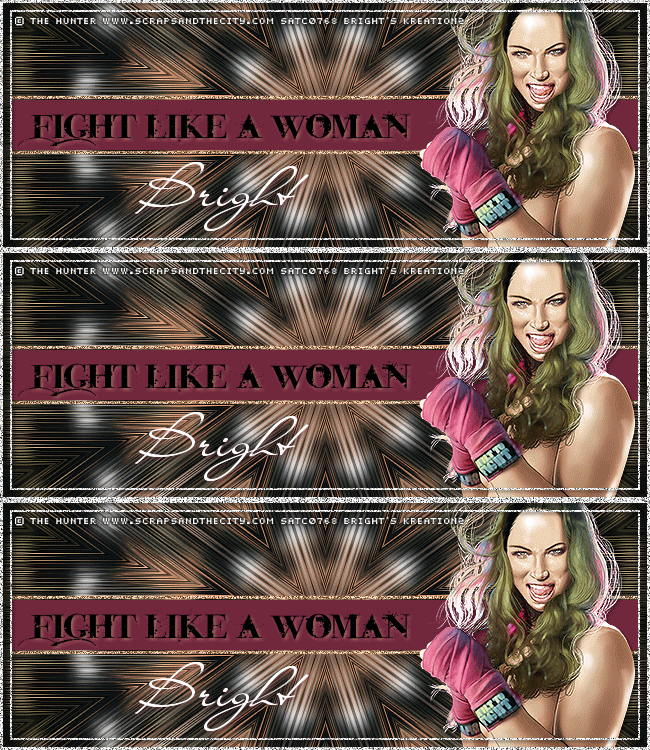
Fight Like A Woman


Tube of choice,i used a free gift with purchase.
Hunter Sweetfighter.Top right of page under free Gifts.
You need a licence to use this art,you can purchase one HERE.
Dsb Flux bright noise plugin.
Font of choice,i used Mr Lackboughs.
Banner...
File 650x250.fill with white.
Copy and paste full tube,no need to move it.
Effects blur gussian blur 0n5 twice.
Effects dsb Flux Blast,default.Effects Edge enhance.
reflection effects Kaleidscope.Default.
Precepts rectangle.Antialias and create as vector ticked.Line width3.
Stroke CFA180.Draw rectangle across center of template.
Add dsb Flux bright noise on 100.
Magic wand,click in center of rectangle.New layer,fill with 73283D.
Copy and paste full tube as new layer,showing head down to elbows.
Drop shaddow 2.2.50.5. in black.
Add wordart text iNked God.Size28.colour black.Drop shaddow as above CFA180.
Place in center left of rectangle.
Create a new layer above all other layers, and Flood Fill with white.
Click Selections --> Select All.
Selections --> Modify --> Contract by 3, hit Delete.
Keep selected, and now contract by 7, then Flood Fill with white.
Now contract by 2, hit Delete, then Select None.
Apply a drop shadow to this layer.Add dsb Flux bright noise on 100.
Add url copyright and licence number.
Add name on top bottom template.Drop shaddow 73283D.
Highlight frame layer,Add dsb bright noise on80.
Edit copy merged.Paste in animation shop as new layer.
Back to psp,repeat 2 more noise layers,1st 0n90 then 2nd on100.
Copy merged,paste in animation shop,after current frame.
View animation,save as.
Aviator...
Fill new 150x150,fill with white.
Copy and paste all layers,one by one from the banner.Resize as you go by75.
Add frames as on the banner.Add dsb noise to frames as on banner.
Add copyright and licence number.Add 1st.letter of name,
on top bottom left of template,drop shaddow as name on banner.I used text size36.
Copy and paste frame animation in animation shop as you did with banner.
View animation,save as.


Thinking Pink

 
Tube of choice,i used Arthur Crowe.
You need a licence to use this art,you can purchase one HERE.
FTU Pinked kit.Thanks for sharing.HERE.
Tramages Tow the line plugin.
Font of choice i used Kayleigh.
Drop shaddow throughout.2.2.30.3.
File new 650x650,fill with white.
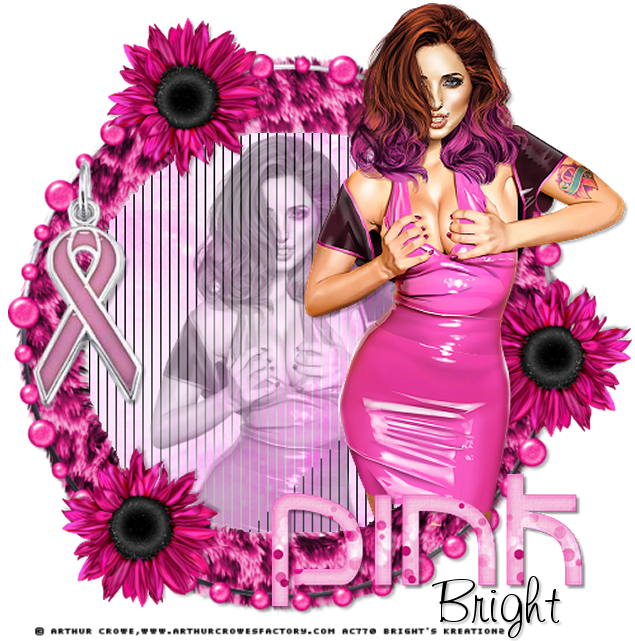
Resize Fuzzy leopard frame by 85,magic and,click in center
Modify exspand by3,Resize paper12,paste as new layer,
invert delete on keyboard,drag below frame.Add Tramages tow the line,default.
Resize tube by 45.paste as new layer bottom of frame,delete on keyboard,
change blend modr to Luminance.Select none.Lower opacity by50.
Resize Circle beads by 85,paste as new layer just outside of Fuzzy frame.
Drop shaddow frame and circle beads.
Resize tube by 45,paste as new layer on top bottom right of frame,
Sharpen then drop shaddow.
Resize Wordart Pink by 75.paste as new layer on top bottom of tube,
Sharpen then drop shaddow.Duplicate.
Highlight tube,erase any of the tube showing beneath the wordart.
Copy and paste BCA Charm,paste as new layer on top left side of frame drop shaddow.
Resize Flower by 70.paste as new layer top left of frame,
sharpen then drop shaddow,duplicate,image flip move to bottom left of frame,
duplicate image mirror,move to center right of frame,drag below tube.
Crop around tag,leave space for url and copyright.Image resize 650Pixels width,all layers ticked.
Add url copyright and licence number.
Add name to bottom right of tag,drop shaddow.
Delete background layer,Save as PNG.
Hope you enjoyed doing my tut,thanks for trying it.

Be Aware

 
Tube of choice,i used Verymany.Mila2.
You need a licence to use this art,you can purchase one HERE.
FTU BCA kit,thanks for sharing.HERE.
New Masks-Sparkle/Bling,by Sue.Thanks for sharing.HERE.
Animation 352,thanks Simone.HERE.
Font of choice,i used Kirsty
Drop shaddow throughout.1.1.30.3.
File new 650x650,fill with white.
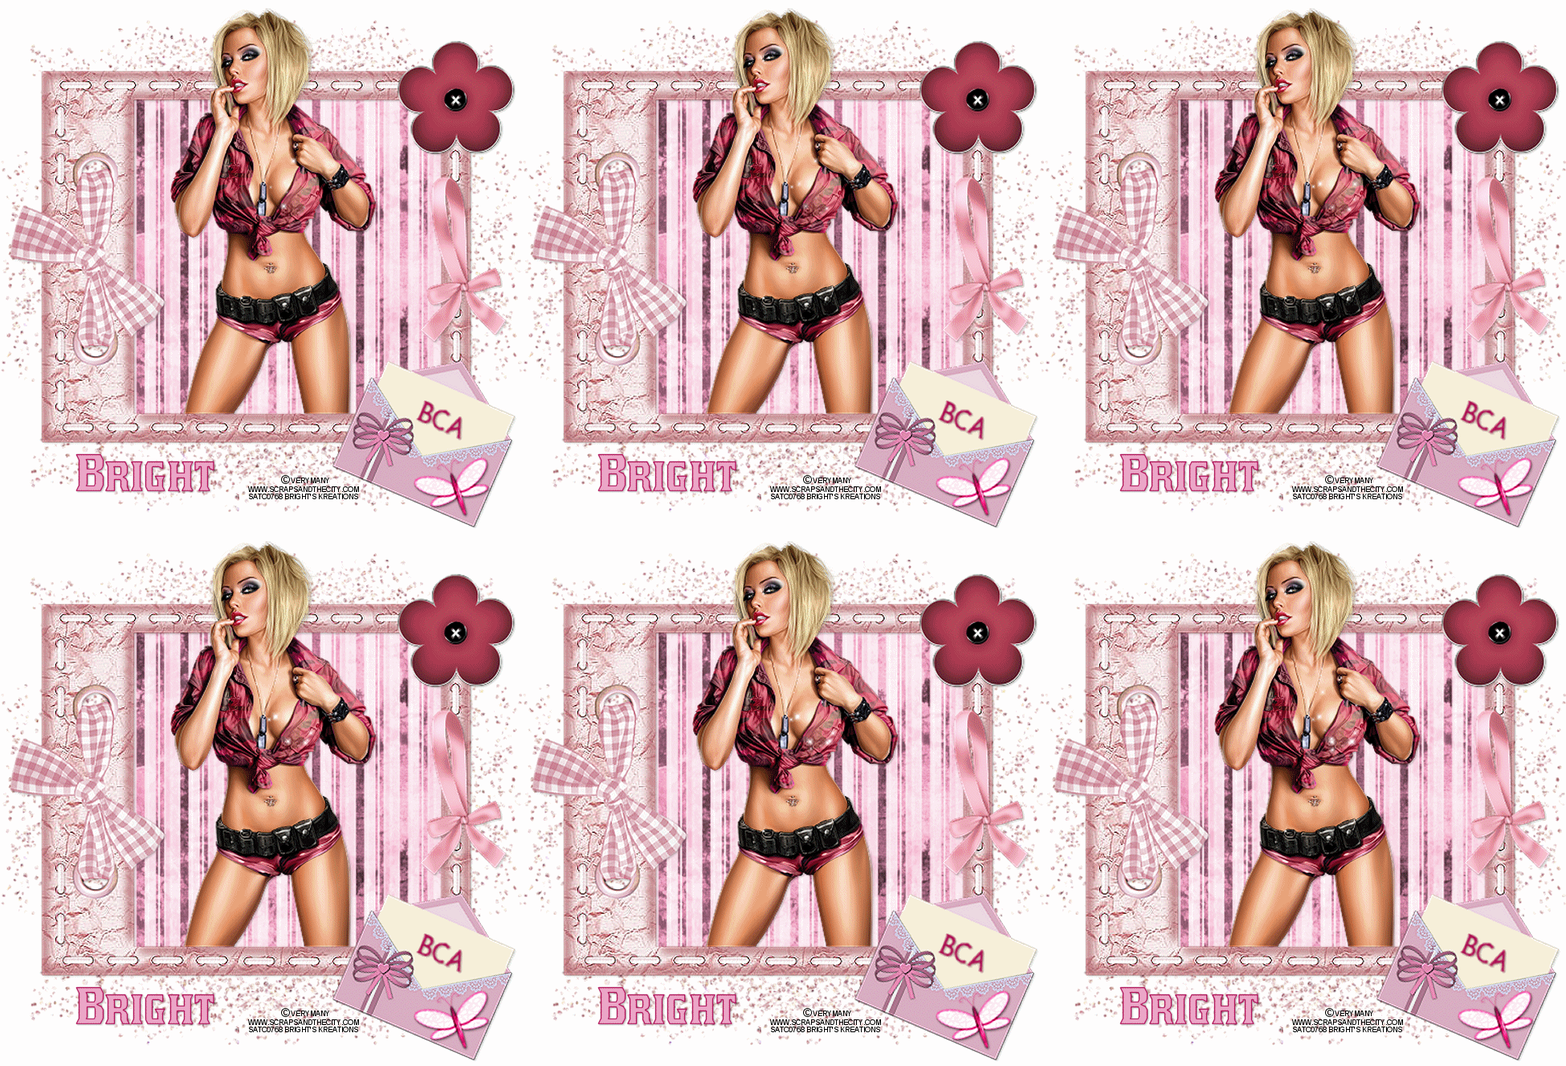
Resize Frame8 by85,paste as new layer.Magic wand,click in center,
Modify exspand by3,Resize paper2 by75,paste as new layer.
Invert,delete on keyboard,drag below frame,frame.
Select none.Drop shaddow frame.
Resize tube by35,paste as new layer on top bottom of frame,
Sharpen then drop shaddow.
Resize Card2 by35.paste as new layer on top bottom right of frame,
sharpen,drop shaddow.Rotate slightly to right.
Resize flower4 by45,paste as new layer on top right corner of frame
sharpen then drop shaddow.
Resize ribbon4 by35.Paste as new layer between flower and cared
on right of frame,sharpen then drop shaddow.
Highlight card,add BCA wordart,i used Text Possum Saltare NF.Size 20.AC004E.
Rotae slightly then drop shaddow.
Resize Butterfly2 by20.Paste as new layer on top bottom right of card
Sharpen,rotate slightly then drop shaddow.
A Crop around tag leave room for your name and Copyright.
Image resize by 650Pixel width,all layers ticked.
Add url,copyright and licence number.
Add name to bottom left of frame,drop shaddow.
Highlight background layer,paste paper12.as new layer,
use deformation tool,stretch to fit canvas.
Mask new from image,select and apply mask,merge mask visable.Resize by110.
Edit copy merged,paste in animation shop as new animation,duplicate 11 times.
Open animation352,edit select all,edit copy,highlight tag
edit select all,edit paste in selected frame,place on top right boob of tube.
View animation,save as.
Hope you enjoyed doing my tut, thanks for trying it.

Courage


Tube of choice,i used Arthur Crowe.
You need a licence to use this art,you can purchase one HERE.
Template135.Thanks for sharing.HERE.
Freebie Pink Hope kit thanks for sharing.HERE.
Plugins.
dsb Flux bright noise.
Eye candy gradient glow.
Font of choice,i used Janda Elegant Handwriting.
Banner...
Open template,delete credit layer.
Highlight main background,select all,float.
Paste paper2 as new layer,invert delete on keyboard,
Resize close with bow by30,image mirror,paste as new layer.
Move to far left of template,Drop shaddow 1.1.30.5.delete on keyboard.
Select none,delete main background layer.
Highlight Square.Select all,float,paste paper4 as new layer,
invert delete on keyboard,
resize main tube without bow by50.paste as new layer,delete on keyboard.
Drop shaddow as above.Select none.
Highlight rectangle.select all,float,paste paper5 as new layer.
Invert delete on keyboard,select none,delete original layer.
Add wordart,i used Courage,Text Jayne Print YOFF.Size26.BD4052.
Add EC gradient glow,thin white,then drop shaddow as above.
Place to right of left tube,rotate slightly to left.
HighlightAngled lines,select all,float,new layer
Fill with D7909A.Select none,delete original layer.
Highlight Square frame,select all,float new layer
fill with E05672.Add EC gradient glow
thin white.Select none.Delete original layer.
Highlight angled lines2,select all,float,new layer
fill with F44564.Select none.Delte original layer.
Add bright noise on 100.
Resize ribbon1 by25,paste as new layer on top left of square frame
drop shaddow.2.2.50.5.then -2.-2,50.5.Sharpen.
Resize butterfly by20.Paste as new layer on top right of left tube,
drop shaddow as above.Sharpen.
Resize flower1 by30.paste as new layer on top right corner of frame.
Sharpen,drop shaddow as above.Duplicate image mirror,image flip.
Add url,copyright and licence number.
Add name on top of center bottom rectangle FDE0E5,Drop shaddow as above.
Highlight rectangle frame,Add bright noise set on80.
Edit copy merged,paste in animation shop as new animation.
Repeat undo noise,then add noise,copy merged,paste in animation shop after current frame twice
2nd noise set on 90 and 3rd.noise set on 100.
View animation,save as.
Aviator...
File new 150x150.Copy and paste the background from banner template.
Copy and paste left tube from banner template.Resize by75,sharpen.
Copy and paste butterfly from banner template,sharpen twice.
Place to top right corner of template.
Add copyright and licence number.
Add 1st.letter of name on top bottom right of tube,drop shaddow.Save as PNG.
Hope you enjoyed doing my tut,thanks for trying it.


Check Your Rack

 
Tube of choice,i used Verymany.
You need a licence to use this art,you can purchase one HERE.
Template2.Thanks for sharing.HERE.
Mask167.Thanks for sharing.HERE.
BCA animations151-155.Thanks Simone for sharing.HERE.
Plugins.
Tramages Tow the line.
Eye Candy gradient glow.
Penta.com dot and cross.
Font f choice,i used Kirsty.
Drop shaddow throughout.2.2.50.5.
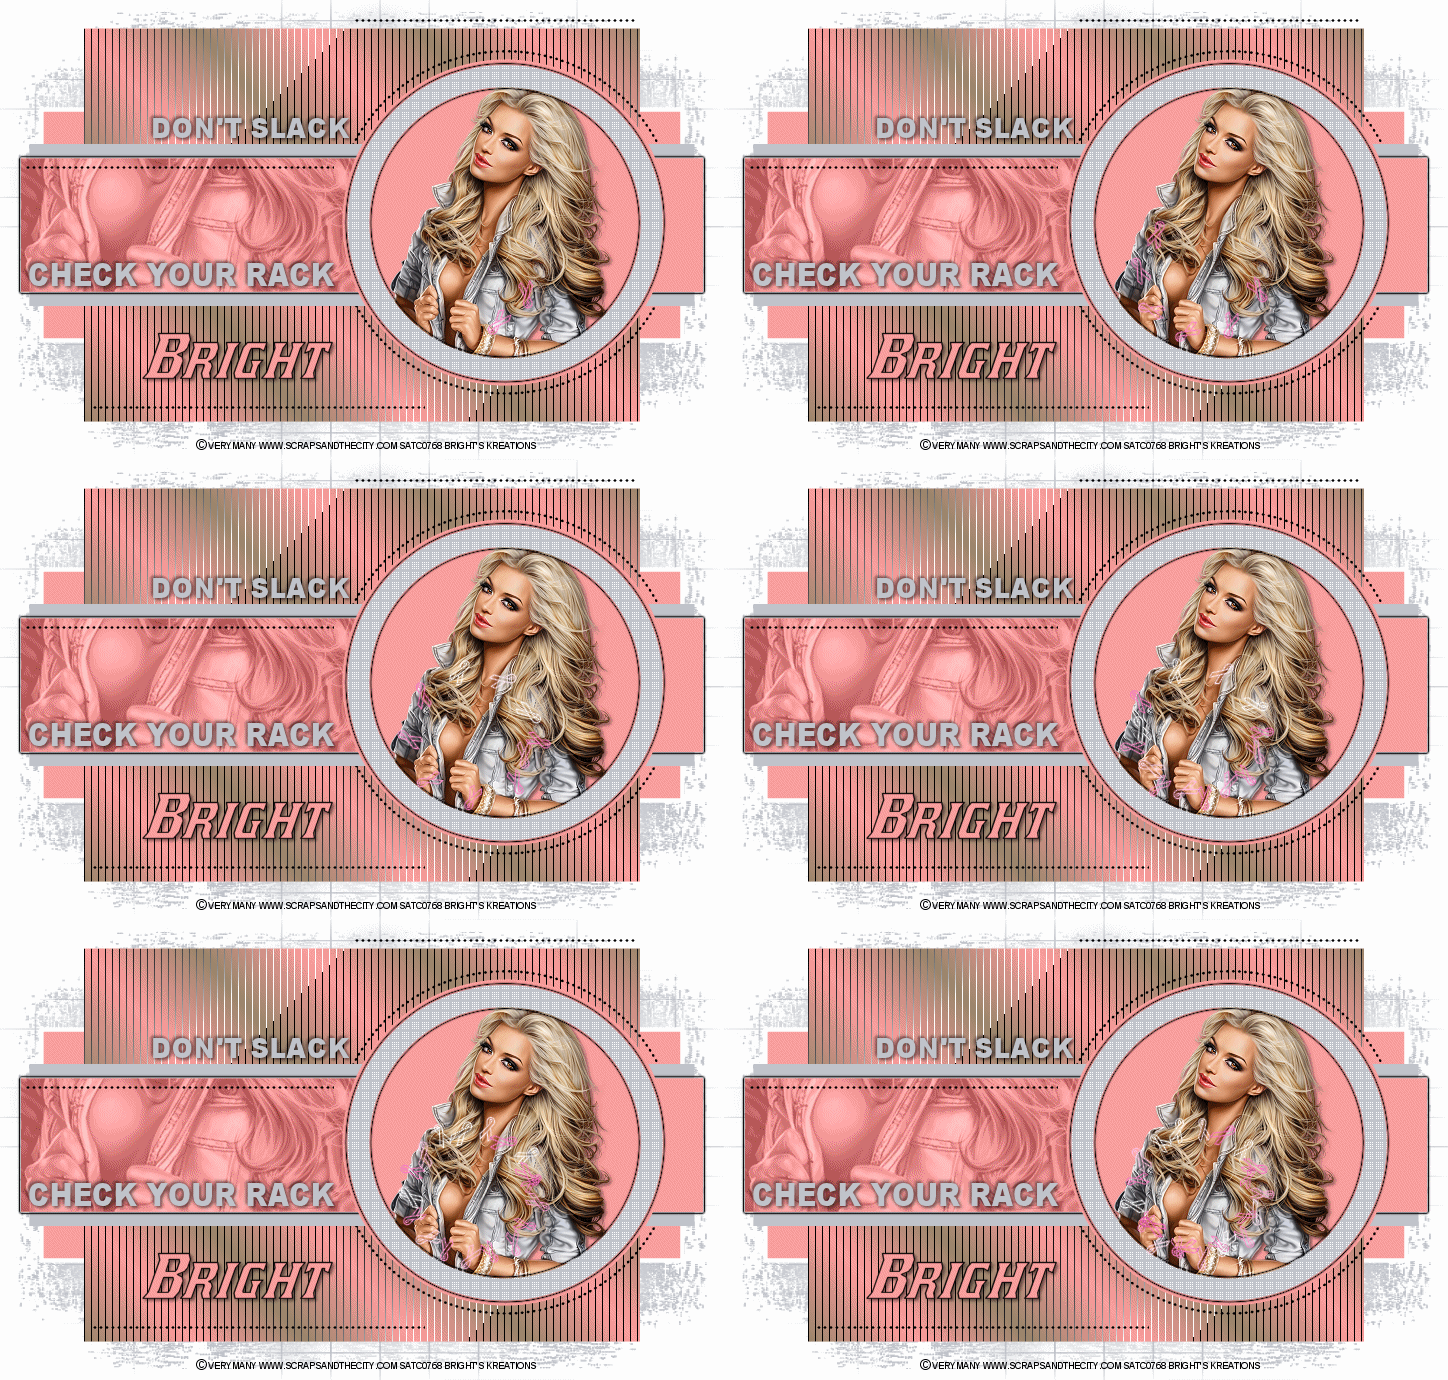
Open template,delete raster11.
Highlight raster copy of raster4,select all float.New layer,fill with FE9E9E.
select none,delete original raster.
Resize main tube by40,paste as new layer,delete on keyboard,select none.
Sharpen then drop shaddow,erase overlapping of tube at bottom.
Highlight raster copy of vector3.select all,float.
Paste tube as new layer,showing boob bit,invert delete on keyboard
select none.delete original layer.
Highlight copy of vector3,select all,float,new layer,
fill with FE9E9E.select none,delete original layer.Add EC gradient glow
colour black halo,set on3.
Change blend mode to Luminance the left tube.Opacity 0n 50.
Highlight raster4,select all float,new layer.
Fill with C0C3CA.Select none,delete original layer.
Highlight raster2,select all float,new layer,fill with FE9E9E.
Select none,delete original layer.
Highlight raster3,select all,float,new layer,fill with gradient as follows,
Foreground.FE9E9E.Background.9A866C.Make background your Linear gradient.
Angle.50.Repeats7.Invert gradient ticked.Select none,
Add Tramages tow the line,default.Delete original layer.
Highlight copy2 of vector4.Select all,float,new layer,fill with C0C3CA.
Select none,delete original layer.Add Penta.com,dot and cross,default.
Add EC gradient glow,colour,Black halo set on3.
Highlight raster7,select all float,new layer,fill with C0C3CA.
select none,delete original layer.
Drop shaddow as above,then again on -2.-2.50.5.
Repeat as above on raster6.
Highlight background,new layer,fill with C0C3CA.Mask new from image,
select and apply mask,merge mask visable.Duplicate.
Add url,copyright and licence number.
Add name bottom left of template,drop shaddow.
Edit copy merged,paste in animation shop as new animation duplicate 22 times.
Open animation,edit select all,edit copy,highlight 1st frame on tag
Edit select all,edit paste into selected frame,place on top of
boob on the main tube.View animation,save as.
Hope you enjoyed doing my tut,thanks for trying it.

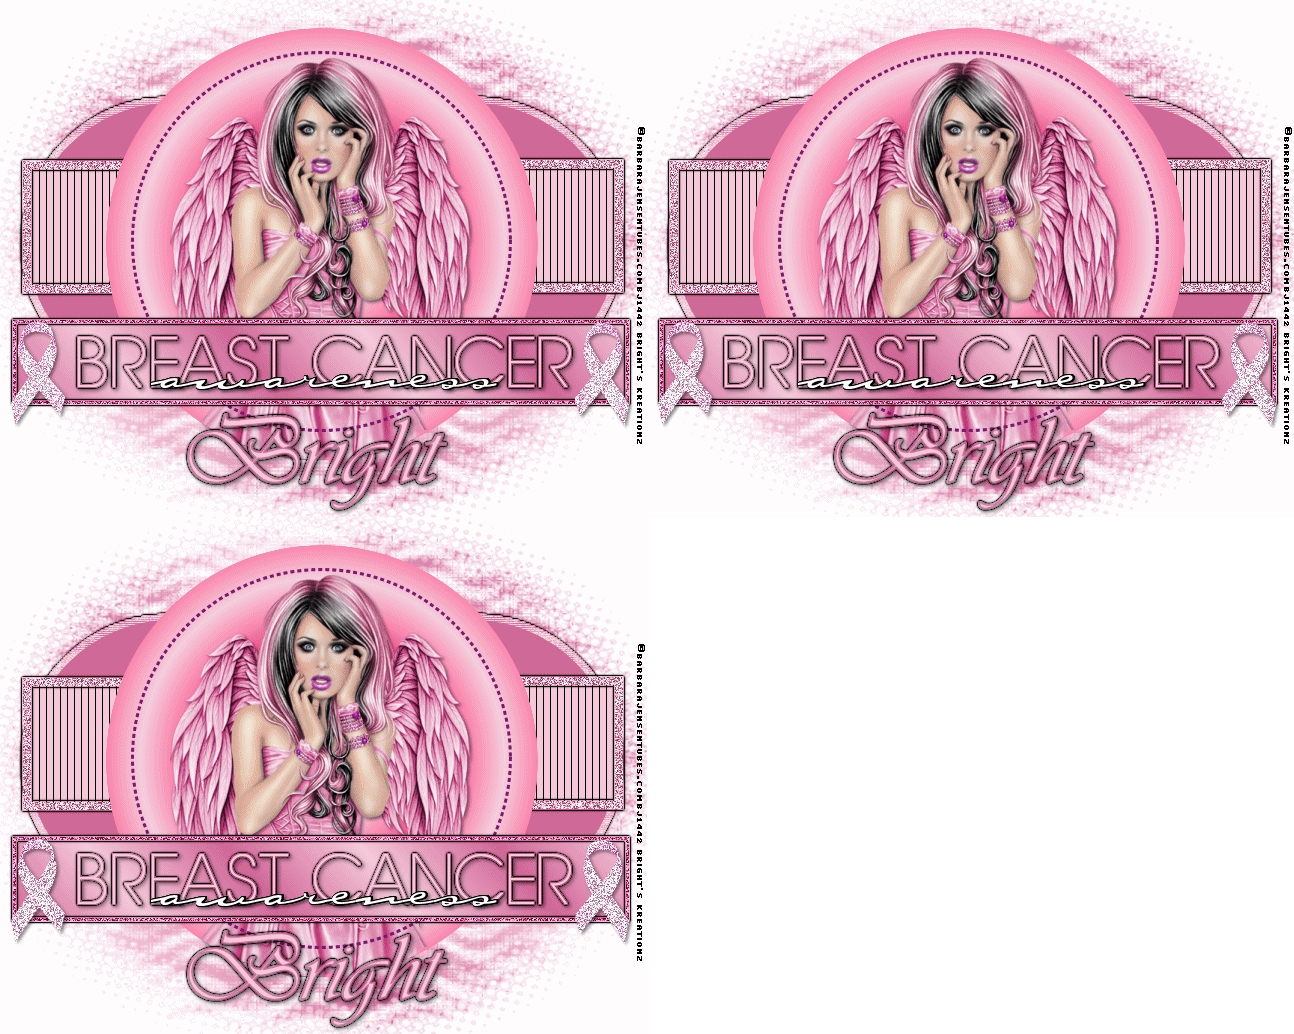
BCA Awareness

Tube of choice i used Barbara Jensen.47-3.HERE.
Template BCA 4.Thanks for sharing.HERE.
BBD mask 174.Thanks for sharing.HERE.
Plugins.
Tramages Tow the line.
Eye Candy gradient glow.
dsb Flux Bright noise.
Font of choice i used Vivaldi
Drop shaddow throught.2.2.50.5.
Open template,delete credits.
Highlight BG,Image resize canvas by 650 pixel width.Fill with white.
Move Frame1,Rectangle,Ribbons,Words3,Words1 and words2.
Align them all up at bottom of template,see mine for details.
Highlight circle1,select all,float.New layer.Fill with gradient.
Foreground.F5CFDC.Background.FF4584.Make Sunburst gradient from the background.
H.50.V.50.Repeats4.Invert gradient ticked.Delete original layer.
Still on circle,Resize main tube by 75,Paste as new layer bottom center of template
Select none.Drop shaddow,erase overlapping of shaddow at bottom of tube.
Highlight dots,select all.float,new layer,fill with 7B1870.Delete original layer.
Highlight circle3.Select all,float,new layer,fill with D3669A.Select none,delete original layer.
Repeat as above for circle2.
Highlight squares.select all,float,Fill with F5C9D8.Add tramages Tow the line,default.
Select none,delete original layer.
Highlight frame2,select all,float,new layer fill with F7ABC5.
Selecty none,Add dsb flux,bright noise set on 100.
Add EC gradient glow,colour black halo,change colour FF4584.set on3.Delete  original layer.
Highlight Frame3,Add EC gradient glow as above.
Highlight word3.select all,float,New layer fill with F5C9D8.Drop shaddow.
Add EC gradient glow as above.Select none,delete original layer.
Highlight rectangle,select all,float,new layer fill with gradient.
Foreground F5C9D8.Background.D3669A.Make background gradient.Linear.
Angle.50.Repeats.4.Select none,delete original layer.
Highlight Frame1,select all,float,new layer fill with D3669A.select none.
Add Noise as above.Then EC gradient glow as above.Delete original layer.
Highlight ribbons,add drop shaddow.Highlight words2,Add drop shaddow.
Add url,copyright and licence number.
Add name on top bottom of template.add EC gradient glow as above,but change colour to black,drop shaddow.
Highlight Ribbons,Add noise set on 80.Edit copy merged,Paste in animation shop as new animation.
Back to psp,Undo noise.Add noise on 90.Edit copy merged
paste in animation shop after current frame.Back to psp.Undo noise,add noise on 100.
Edit copy merged,paste in animation shop after current frame.
View animation,save as.
Hope you enjoyed doing my tut,thanks for trying it.


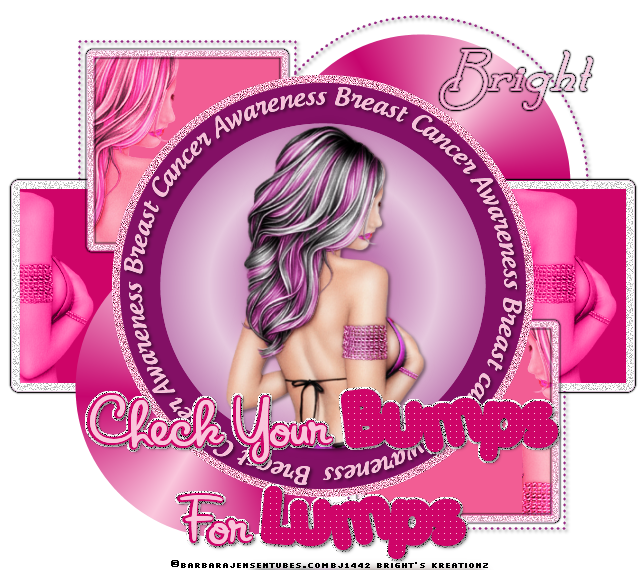
Check Your Bumps

 
Tube of choice i used Barbara Jensen.Layered 36-2.
You need a licence to use this art,you can purchase one HERE
Template.Check your bumps.Thanks for sharing.HERE.
Plugins.
dsb Flux bright noise.
Eye Candy gradient.
Font of choice i used Calamity Jane NF.
Drop shaddow throughout.2.2.50.5.
Open template,delete credits.
Highlight Lt pink circle.select all float.new layer fill with gradient.
Foreground E6C8DE.Background 962984.Make gradient from the background colour.
Sunburst.Repeats1.Invert gradient ticked.
Resize tube by 90.Paste as new layer center of circle.delete on keyboard.
Select none,duplicate tube,effects,blur,gussian blur set on 5,
Change blend mode to soft light,add drop shaddow on original layer.
Highlight dark pink circle,select all float,new layer,fill with 831065.
Select none delete original layer.
Highlight dark pink rectangle,select all float,pastr tube as new layer,
only showing right of tube from shoulder to elbow.
Invert delete on keyboard,select none.Change blend mode to Luminance,Opacity to 70.
Duplicate move to the left,erase overlapping of tube on the left.
Highlight raster4.select all float,paste head of tube to top left corner.
Invert delete on keyboard.Select none,Change blend mode to hard light,opacity 80.
Repeat on copy of raster4 but image mirror tube before doing so.
Highlight wordart,magic wand click on Bumps,fill with CE0468.Repeat as above on Lumps.
Add psp weave effect.
Drop shaddow wordart back.Highlight circle wordart,select all float.
Fill with F8BFD8.Drop shaddow.
Highlight circle dot2 select all,float new layer,fill with 962984.
Drop shaddow delete original layer.
Repeat as above on Square dot1 and 2.Highlight white noise rectangle
add EC gradient glow.Colour black halo,change colour from black to 962984.
Highlight pink frame 1,add dsb flux bright noise on 5o.then same Ec gradient glow as above.
Repeat on pink frame as above.Gap size1.Width5.Opacity1.Weave and gap colour.F8BFD8.Link colours ticked.
Add url copyright and licence number.Add name to top right of template.
Add same EC gradient glow as above.
Delete background,Save as PNG.
Hope you enjoyed doing my tut,thanks for trying it.


Breast cancer awareness

Tube of choice i used Barbara Jensen.
You need a licence to use this art, you can purchase one HERE.
Check your chichi's collab kit HERE. Thanks for sharing.
Font of choice i used Inspiration.
Plugins.
dbs Flux bright noise.
Eyecandy gradient glow.
Tran=mages tow the line.
Open template delete credits. Image canvas size 700x700 resize later.
Highlight lpink circle select all float resize paper9 paste as new layer
invert delete on keyboard delete original layer.
Back on paper9 Resize tube you want it larger to fill center
effects sharpen more paste as new layer move to left of frame
invert delete on keyboard change blend mode to overlay select none.
Add psp weave effect.
Highlight dark pink circle select all float fill with paper4 
invert delete on keyboard delete original layer select none.
Highlight circle wordart select all float fill with colour to compliment tube
add EC gradient glow delete original layer select none.
Highlight pink noise circle select all float fill with colour from your tube
add dbs noise set on 100 mix delete original layer select none.
Highlight raster4 select all float fill with colour of choice
add tramages tow the line delete original layer.
Work the same for copy of raster4. 
Pink frame 1 and 2  highlight select all fill colour of choice add noise as above
delete original layer select none.
Dark pink rectangle select all float fill with paper1 invert delete on keyboard
delete original layer select none.
Change colour and add same noise as above to white noise rectangle.
Circle 1 and 2 select all float fill with paper8 invert delete on keyboard
delete original layer select none. 

Highlight wordart select all float new layer fill with paper 7
invert delete on keyboard delete original layer select none.
 add noise as above. Add drop shaddow .
Resize tube paste as new layer place on top left of template drop shaddow.
Add url copyright and licence.
Add name place top right of template add EC gradient glow.
Crop delete white background save as PNG.
Hope you enjoyed doing my tut, thanks for trying it.

Stand up to cancer


Tube of choice i used Ismael Rac.
You need a licence to use this art, you can purchase one HERE.
FTU  Misfit BCA kit by Kaci. HERE. thanks for sharing.
Mask HERE.
Font of choice i used Flores.
Plugins.
dsb flux bright noise.
Eyecandy gradient glow.
Tramages tow the line.
Tag...
File new 650x650 fill with white, new layer fill with paper of choice.
Mask new from image select and apply mask merge mask visable.
Copy and paste element 8 paste as new layer on top
center of mask magic wand click in center selections
modify exspand by5 resize paper of choice invert delete on keyboard
drag below frame layer.
Resize close up tube paste as new layer delete on keyboard
add tramages tow the line default change blend mode to soft light.
Select none drop shaddow frame.
Resize main tube image mirror paste as new layer right of frame drop shaddow.
Resize element22 paste as new layer place to top of frame drop shaddow.
Resize element38 paste as new layer place to left
of frame drop shaddow.
Resize element12 paste as new layer place on top of lips.
Copy and paste BCA that comes with tube paste as new layer
place to bottom right of tube drop shaddow.
Resize element5 paste as new layer place to bottom left of
of tube drop shaddow.
Crop if needed.
Add url copyright and licence.
Add name place to bottom left of frame drop shaddow.
delete white background save as PNG.
Banner...
File new 650x250 fill with white, new layer fill with same paper
you used for the tag invert delete on keyboard.
Resize close up tube paste as new layer place to left of template
drop shaddow add tramages tow the line change mode to soft light.
Copy and paste close up tub place to the right of template drop shaddow select none.
Resize elements 22  2 and the BCA from tube add drop shaddows
as you go see mine for details.
Highlight background layer select all float  modify contract by5
invert new layer fill with colour from your tube drag to the top
add dsb flux bright noise on 35 select none add gradient glow white.
Add url copyright and licence.
Add name place bottom right of template drop shaddow.
Crop apaque merged save as PNG.
Avator...
File new 150x150 fill with white new layer fill with paper of choice.
Resize tube image mirror paste as new layer drop shaddow.
Work same frame as you did on the banner.
Add copyright and licence number.
Add 1st.letter of name place to top right of template drop shaddow.
Crop apaque merged save as PNG.
 Hope you enjoyed doing my tut, thanks for trying it.

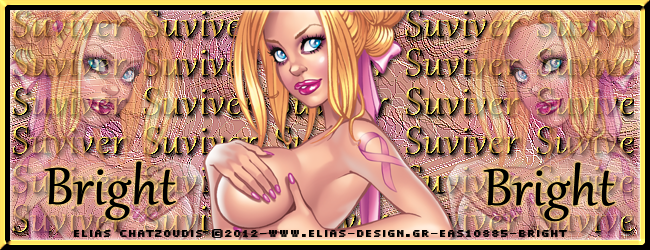
BCA Surviver


Tube of choice i used Elias Chatzoudis.
You need a licence to use this art, you can purchase one HERE.
Supplies.
Eye Candy gradient glow.
Open my templates from supplies in psp.
Banner...
Higlight wordart layer select all copy and paste your tube place
to the left side of template lower opacity to 60.
Duplicate image mirror.
Paste tube on top but below frame drop shaddow.
Add url copyright and licence.
Add name place to left of template add Eye candy gradient glow
in a colour to compliment your tube duplicate
drag to right side of template.
Crop apaque save as PNG.
Avatar...
Work the same as you did your banner template.
Add 1st.letter of name place to top left corner of template.
Crop apaque save as PNG.
Hope you enjoyed doing my tut, thanks for trying it.

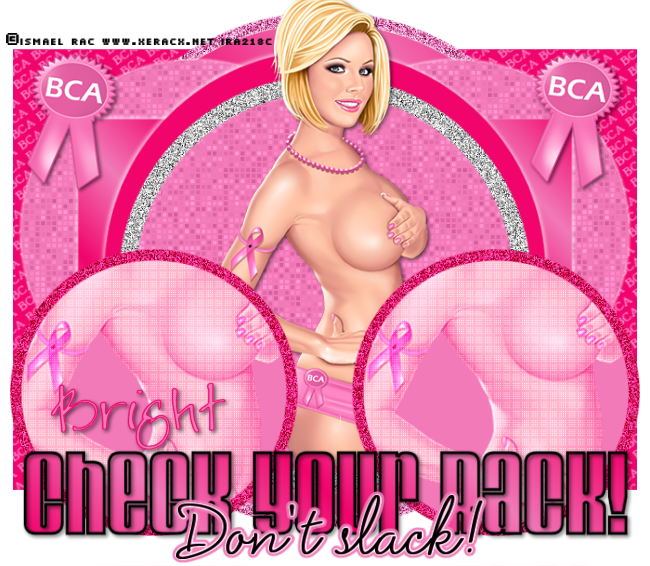
Check your rack

Tube of choice i used Ismael Rac.
You need a licence to use this art, you can purchase one HERE.
Check your rack template HERE. Thanks Vaybs.
Font of choice i used Jayne Print YOFF.
Plugins.
Penta dot com dot and cross.
dsb flux bright noise.
Eye Candy gradient glow.
Open the template.
Change your colours to a dark and a light colour from your tube
make the darker colour into a gradient of choice.
Highlight square2 select all float new layer fill with your gradient delete original.
Add EC gradient glow in white.

Repeat as above for circle2.
Highlight circle8 select all float copy and paste part of your tube
invert delete on keyboard select none change blend mode to overlay.
Add penta dot com duplicate move and place in circle 9.
Highlight circle7 select all float paste your tube as new layer invert
delete on keyboard select none paste tube again on top of original
align it up drop shaddow erase any showing outside of circle.
Copr and paste BCA badge from tube place to both top corners of
square1 drop shaddow.
Add EC gradient glow white to other layers as you like.
Highlight frame1 select all float new layer fill with colour then add
noise delete original layer, repeat the same for frame2.
Highlight cyr select all float fill with the same gradient as before delete original layer.
Repeat for cyr frame then drop shaddow, delete original layer.
Image resize 650 pixels width all layers checked.
Add url copyright and licence.
Add name place on top center of your left circle tube drop shaddow.
Delete white background save as PNG.
Hope you enjoyed doing my tut, thanks for trying it.


BCA Check


Tube of choice i used Ismael Rac.
You need a licence to use this art, you can purchase one HERE.
Check Your Chichi's Amy's portion kit HERE. thanks for sharing.
Font of choice i used Batang.
dsb Flux Bright noise filter.
Banner...
File new 650x250 fill with white.Open paper2 paste as new layer
use deformation tool to fit it down the sides.
Resize tube of choice paste as new layer place to left side
of template change blend mode to overlay.
Duplicate image mirror.
Pase tube again place in center on top of template to your liking drop shaddow.
Highlight background layer select all float selections
modify contract by 5 invert new layer fill with colour to compliment
your tube drag to top add dsb noise on mix 100.
Select none add drop shaddow 2.2.50.5 then again change 2's to -2.
Add url copyright and licence.
Add name give it your favoute inner bevel drop shaddow
place on top bottom left corner of template.
Crop apaque save as PNG.
Avatar...
file new 150x150. fill with white,resize paper2 paste as new layer.
Resize tube of choice paste as new layer place
to left side of template drop shaddow.
Highlight background add border frame as you did
on your banner template.Add copyright and licence place
down right of template.
Add name place bottom left corner of template
add bevil, noise and drop shaddow as your name on banner.
Crop apaque save as PNG.
Hope you enjoyed doing my tut, thanks for trying it.