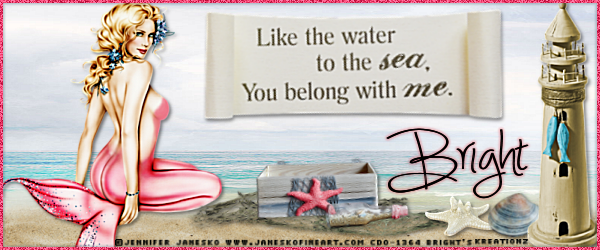
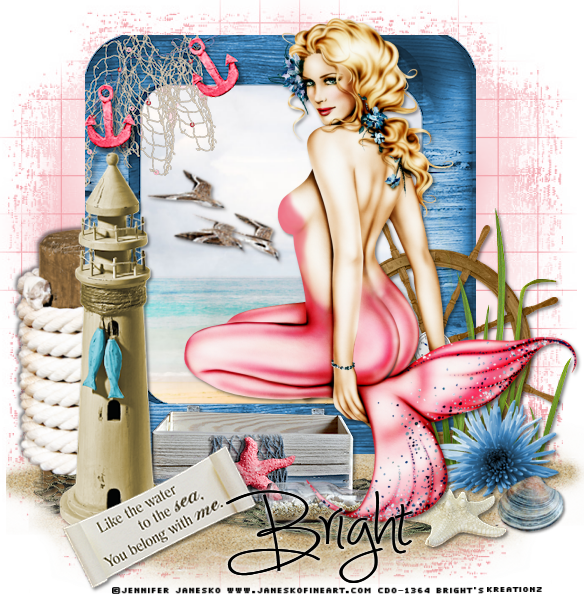
Tube of choice i used Jennifer Janesko.
You need a licence to use this art, you can purchase one HERE .
PTUScrapDD_IB-JenniferJanesko-13-1 HERE.
Mask 167 HERE.Thanks babs for sharing.
Plugins.
Xero porcelain
Eye Candy gradient glow.
Font of choice i used Simply*Glamorous.
File new 600x700 we will crop it later fill with white.
New layer fill with paper 5 mask new from image
select and apply mask merge mask visable.
Resize element10 paste as new layer place to bottom left
corner of mask drop shaddow. image mirror move back to corner.
Copy and paste frame1 as a new layer place center of mask
magic wand click in center and the small blanks in the
top left corner selections modify exspand by5.
Resize paper1 as new layer invert delete on keyboard.
Select none drop shaddow frame.
Resize element11 paste as new layer place image mirror
roate slightly place in left center of frame drop shaddow.
Resize element12 paste as new layer place to bottom
right corner of frame drp shaddow.
Resize element14 paste as new layer place on top bottom left
corner of frame drop shaddow.
Resize element13 paste as new layer place
to right of element 14 drop shaddow.
Resize artword paste as new layer rotate place
on top bottom of elements 14 and 13 drop shaddow.
Resize element4 paste as new layer place on top
bottom right of element12 drop shaddow.
Copy and paste your tube on top bottom right corner of frame
duplicate on your original tube layer add gussian blur on 4.
On your top tube add a drop shaddow then add Xero Porcelain.
Resize element9 paste as new layer place on top bottom center of mask.
Resize element6 paste as new layer place on top bottom of
element 4 drop shaddow.
Resize element15 paste as new layer place on top bottom
of element6 drop shaddow.
Resize element1 paste as new layer place left of element 15
and move under your tube drop shaddow.
Add url copyright and watermark.
Add your name place to bottom of your tag
i used text size 65 in black then EC gradient glow.
Crop and delete white background layer.
Save as PNG.
Hope you enjoyed doing my tut, thanks for trying it.


No comments:
Post a Comment
Note: only a member of this blog may post a comment.