
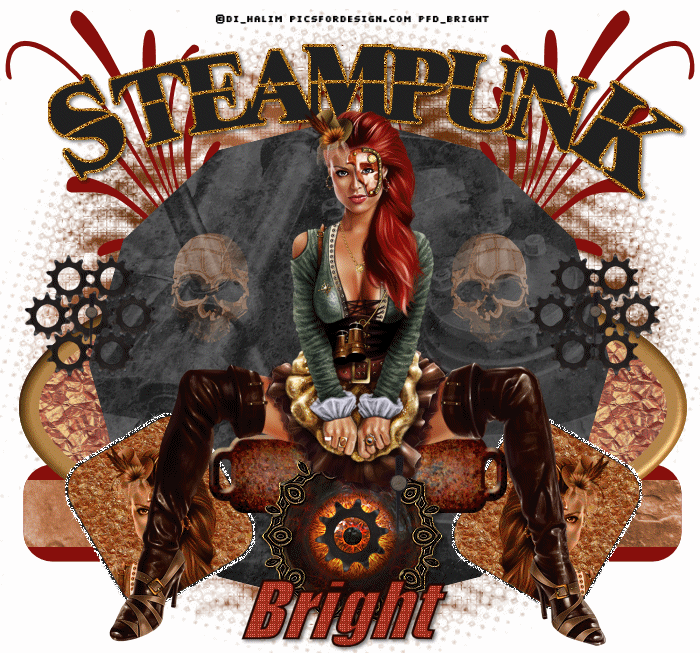
Tube of choice,i used DI_Halim.
You need a licence to use this art,you can purchase one HERE.
FTU Steam punker kit.HERE.Thanks for sharing.
Simone template.144.HERE.Thanks Simone for sharing.
Mask174.HERE.Thanks for sharing.
New SteamPunk animation.HERE.Thanks Simone for sharing.
Plugins.
Penta.com.Dot and cross.
Xenofex2.Constelation.
Font of choice i used Impact.
Open template,delete credits.
Highlight raster8.Select all float,paste paper7 as a new layer,invert
delete on keyboard,delete original layer.Select none.
Highlight promoted selection3,select all float,pste paper1 as new layer,
use deformation tool,stretch the sides to fit,invert delete on keyboard,
delete original layer.Select none.
Highlight promotion selection2,select all float,paste paper5
use deformation tool,stretch the sides to fit,invert delete on keyboard,
delete original layer.Select none.
Highlight promoted selection,select all float defloat,paste paper3 as ner layer
invert delete on keyboard,select none,delete original layer.
Change your background to pattern bricks angle.0.Scale100.
Highlight raster2,select all float,fill with bricks pattern,select none.
Highlight promoted selection1,select all float defloat,pate paper3
as new layer,invert delete on keyboard,select none,delete original layer.
Highlight promoted selection2,select all float,new layer,fill with colour870E0C,
select none,delete original layer.
Highlight copy of raster7,select all float,new layer,fill with colour870E0C
select none,delete original layer.
Repeat on raster7 as on copy of raster7.
Highlight raster9,select all float,new layer,fill with colour 97682A.
select none,delete original layer.Add inner bevel.Bevel2.Width10.Smoothness25
Depth.7.Ambience._20.Shininess.35.Colour white.Angle.135.Intensity.35.Elevation.60.
Add drop shaddow to raster12.2.2.50.5.
Highlight layer23.select all,float,paste tube as new layer,showing her left eye
behind her boot.change blend mode to Luminance,select none.
Repeat on layer30,this time image mirror your tube.
Add constelation to raster4and5.Settings as followes from top to bottom...
2.00.19.20.0.100.15.Twinkle rotation.45.Keep original image ticked.random seed1.
Repeat the same for promoted selection4.
Resize tag1 by85.paste as new layer beneath your tube,sharpen,drop shaddow.2.2.50.5.
Resize Eye by90.paste as new layer place on top bottom of tag.Sharpen,drop shaddow as above.
Resize metalSkull by60.paste as new layer on top center left of tag,
drop shaddow as above,change layer blend mode to screen.
Lower opacity to50.Duplicate image mirror.
Change back and foreground to colours that compliment you you tube.
Make background a gradient,Linear.Invert gradient ticked.Angle.60.Repeats7.
Highlight background new layer,fill with gradient,mask new from image
select mask,merge mask visable.
Add url copyright and licence number.
Add name to bottom center of template.I used foreground colour 66310F.
Background colour A13F14.
Use magic wand click inside all letters of your name,add Penta.com dot and cross.
Use magic wand click inside all letters of your name,add Penta.com dot and cross.
Drop shaddow as above.
Edit copy merged,paste in animation shop as new animation,
Edit copy merged,paste in animation shop as new animation,
duplicatr 10 times.
Animation...
Open animations 01 and 03 in animation shop,resize 02 BY 45 Percentage of original.
Highlight 1st frame of 03,edit select all,edit copy,highlight 1st.frame of your tag
edit select all,edit paste in selected frame,place ontop left center.repeat and place to right center.
Highlight 1st.frame of 01 edit select all,edit copy,highlight 1st.frame of your tag
edit select all,edit paste in selected frame,place ontop center of the eye.
View animation,save as.
Hope you enjoyed doing my tut,thanks for trying it.

No comments:
Post a Comment
Note: only a member of this blog may post a comment.